Webinar listing using an Excel Sheet
Create a dynamic webinars listing page using Excel Online as your content management system.
settings 1. Initial Setup
In this tutorial, we'll create a dynamic webinars listing page using Excel Online spreadsheet as a CMS. When we add a new item to the spreadsheet, it will automatically appear on the webinars listing page.
We'll start with Bootstrap's "Album" template and modify it for our webinars listing.
Here's our modified version of that template: View on GitHub
table_chart 2. Spreadsheet Setup
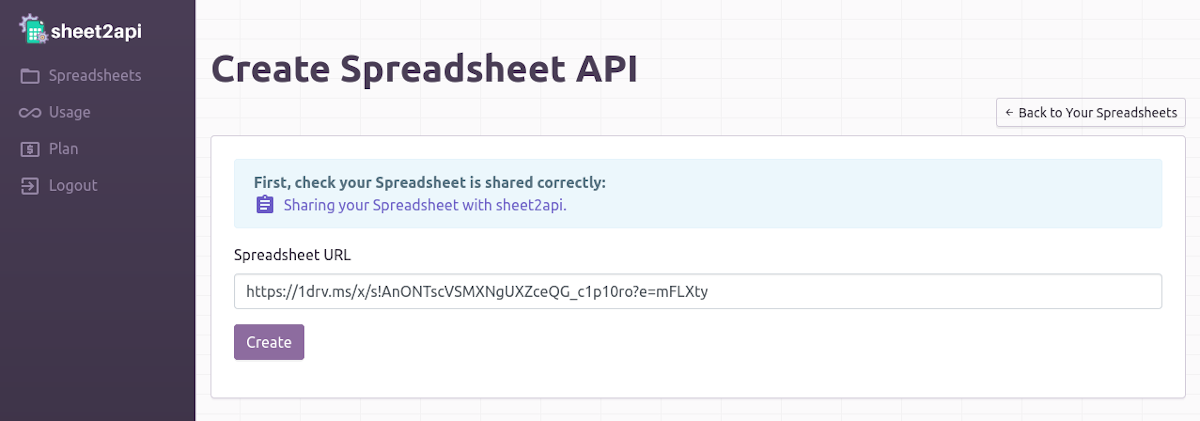
Here's our Excel Online spreadsheet we'll use to populate the webpage: https://1drv.ms/x/s!AnONTscVSMXNgUE6CaoXHvm7Iibj?e=1qkeKd
| A | B | C | D | E | |
| 1 | title | date | time | image | |
| 2 | Soca Tworkout Fitness: Whine Online w/Bea | 12 August 2020 | 7PM EST | https://i.imgur.com/Hkv5EyW.png | |
| 3 | Azure Fundamentals (AZ-900) Free Training | 10 August 2020 | 5PM EST | https://i.imgur.com/VKvz2vz.png | |
| 4 | Typographics Conference 2020 Online | 5 August 2020 | 10AM EST | https://i.imgur.com/HQmkbPC.png |
code 3. Implementation
Copy your Spreadsheet API URL (it should look something like https://sheet2api.com/v1/FgI6zV8qT121/use-case-webinars).
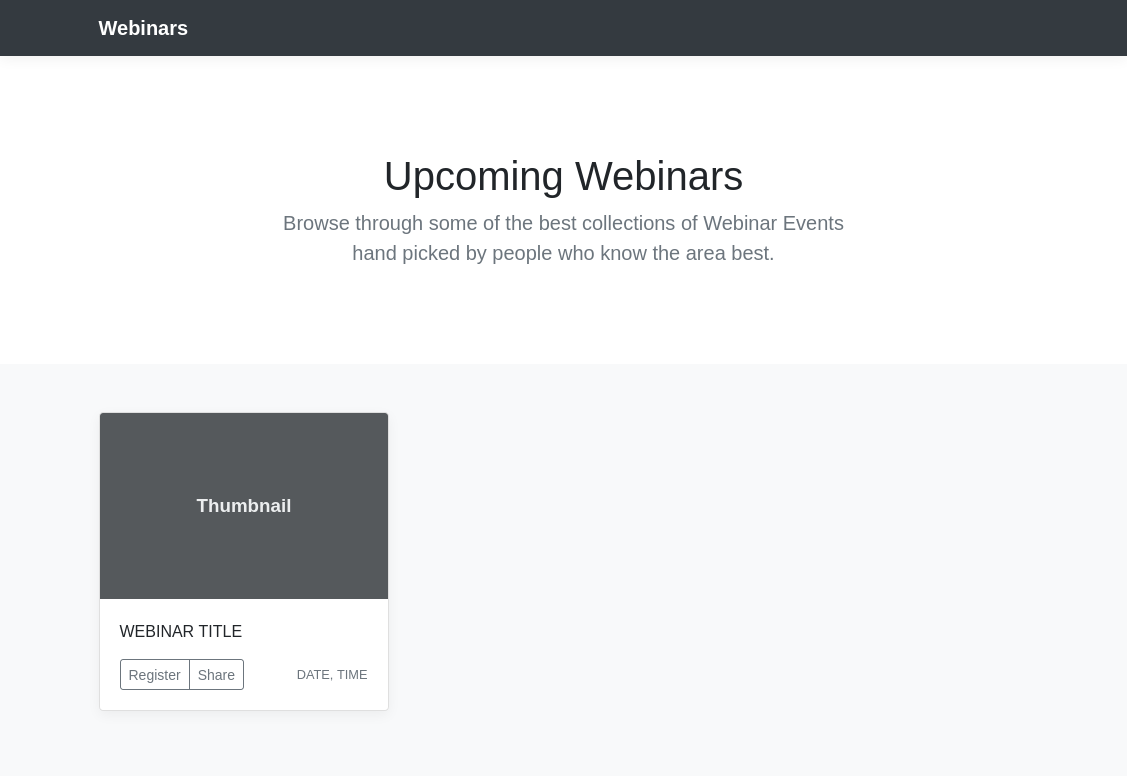
Here's the template code we'll modify to make our page dynamic:
<div class="row">
    <div class="col-md-4">
        <!-- webinar item start -->
        <div class="card mb-4 box-shadow">
            <img class="card-img-top" src="data:image/svg+xml;charset=UTF-8,%3Csvg%20width%3D%223...">
            <div class="card-body">
                <p class="card-text">WEBINAR TITLE</p>
                <div class="d-flex justify-content-between align-items-center">
                    <div class="btn-group mr-2">
                        <button type="button" class="btn btn-sm btn-outline-secondary">Register</button>
                        <button type="button" class="btn btn-sm btn-outline-secondary">Share</button>
                    </div>
                    <small class="text-muted">DATE, TIME</small>
                </div>
            </div>
        </div>
        <!-- webinar item end -->
    </div>
</div>src, data-spreadsheet-api, and the text content for WEBINAR TITLE, DATE, and TIME.
Here's the dynamic version that loops through our spreadsheet data:
<div class="row" data-spreadsheet-api="https://sheet2api.com/v1/FgI6zV8qT121/use-case-webinars">
    <div class="col-md-4">
        <!-- webinar item start -->
        <div class="card mb-4 box-shadow">
            <img class="card-img-top" src="{{image}}">
            <div class="card-body">
                <p class="card-text">{{title}}</p>
                <div class="d-flex justify-content-between align-items-center">
                    <div class="btn-group mr-2">
                        <button type="button" class="btn btn-sm btn-outline-secondary">Register</button>
                        <button type="button" class="btn btn-sm btn-outline-secondary">Share</button>
                    </div>
                    <small class="text-muted">{{date}}, {{time}}</small>
                </div>
            </div>
        </div>
        <!-- webinar item end -->
    </div>
</div></body> tag:
<script src="https://sheet2api.com/v1/template.js"></script>
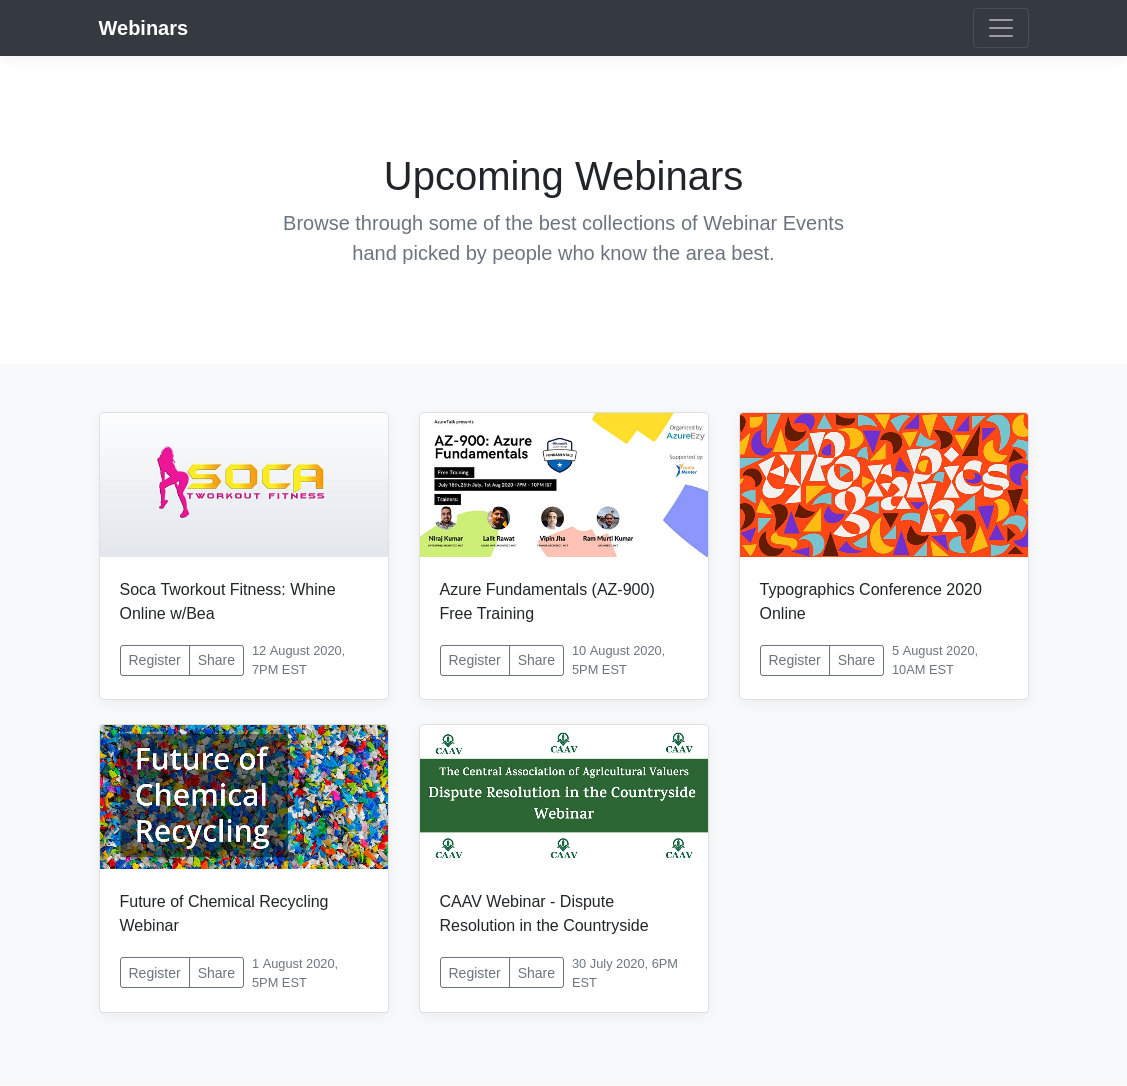
</body>Here's how your dynamic page should look:
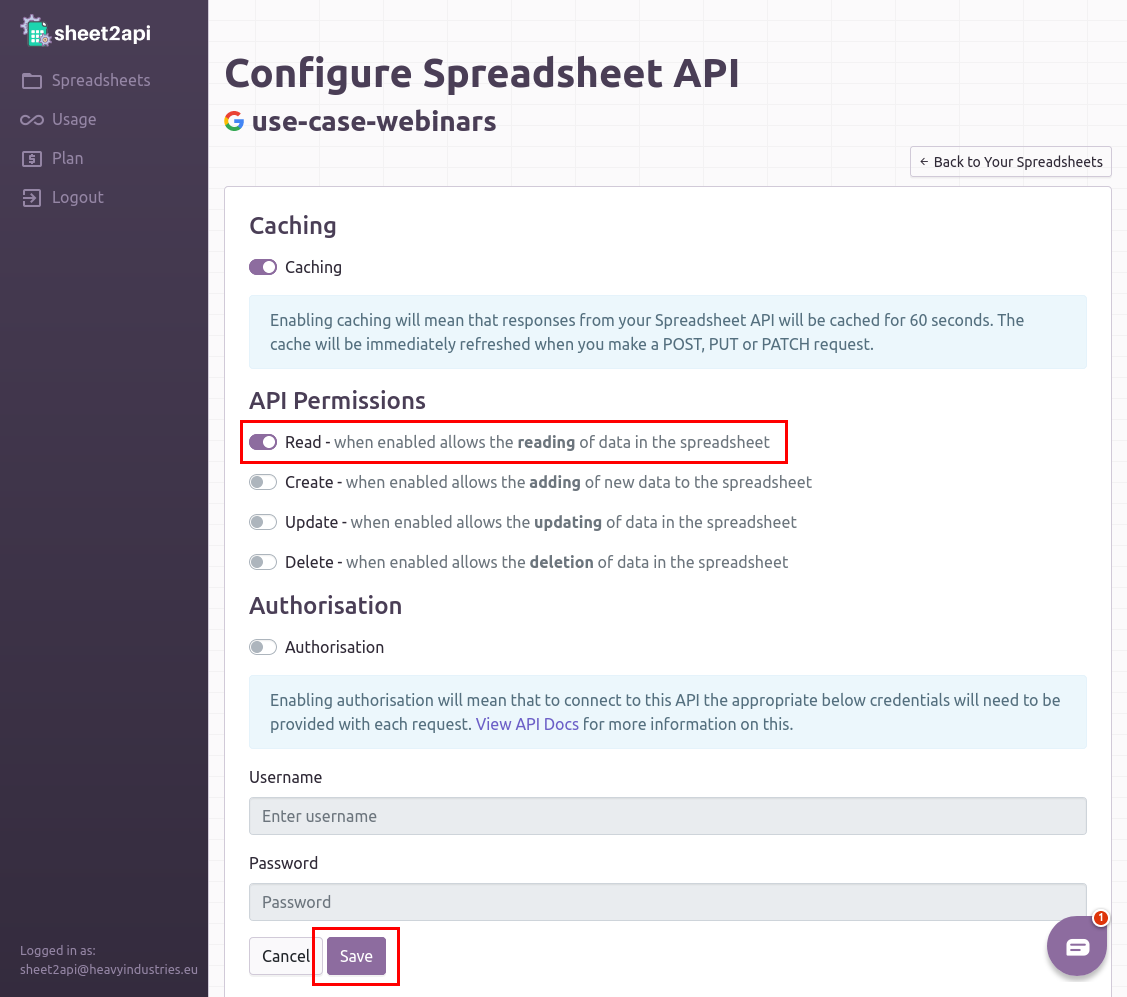
security 4. Security Setup
Let's secure our API by configuring the proper permissions:
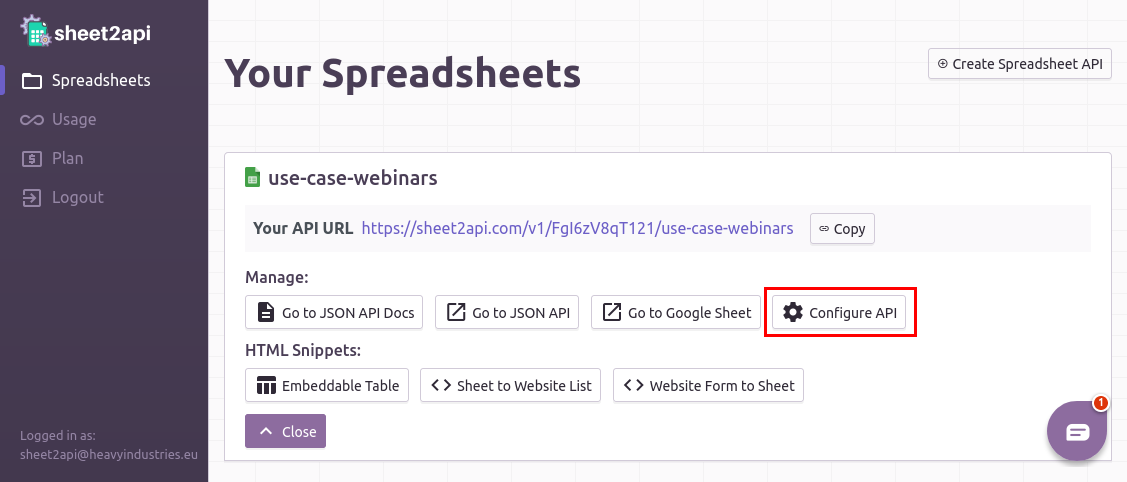
- Go to your account page and find your Spreadsheet API
- Click "Configure API"
- Under "API Permissions", enable only "Read" access
- Click "Save" to apply the changes
link Useful Links
check_circle It's as easy as that! 🎉
Need help? Feel free to reach out via our contact page.
Start using sheet2api now
Be up & running in seconds.
Try for FREE