Spreadsheet as CMS
Manage your website content directly from your spreadsheet.
Turn your spreadsheet into a powerful Content Management System (CMS) for your website. Perfect for blogs, product catalogs, and any dynamic content that needs frequent updates.
In this guide, we'll show you how to connect your spreadsheet to your website and manage content without any coding.
format_list_numbered 1. Format your Spreadsheet
First, head over to Google Sheets or Excel Online and create a new empty spreadsheet.
The first row (1) should only contain column names. All the other rows may contain data, in whatever format you'd like (symbols, numbers, dates, words, etc).
For example:
| A | B | C | D | E | |
| 1 | Name | Favourite Thing | Image | ||
| 2 | Bugs Bunny | Carrots | Bugs.png | ||
| 3 | Elmer Fudd | Chasing Rabbits | Elmer.png | ||
| 4 |
share 2. Share your Spreadsheet
In order to connect your Google/Excel spreadsheet to sheet2api, you'll need to give sheet2api access to it, here's how to do that.
Private Google Sheets
Use this method if your spreadsheet is private and you would like to keep it that way.
- Navigate to your Google Sheet in your web browser.
- Click "Share" in the top right.
- In the "Add people and groups" input box, type [email protected].
- Un-tick "Notify people" and click "Share".
- Finally, click "Share" at the top right again, then click "Copy link".
Public Google Sheets
Use this method if your spreadsheet is public.
- Navigate to your Google Sheet in your web browser.
- Click "Share" in the top right.
- At the bottom right of the popup window click "Copy link".
Excel Online
- Navigate to your Excel Online Spreadsheet in your web browser.
- Right click on the address bar and select "Copy".
add_circle 3. Create Spreadsheet API
Create your Spreadsheet API by pasting your spreadsheet link from the previous step into the form.
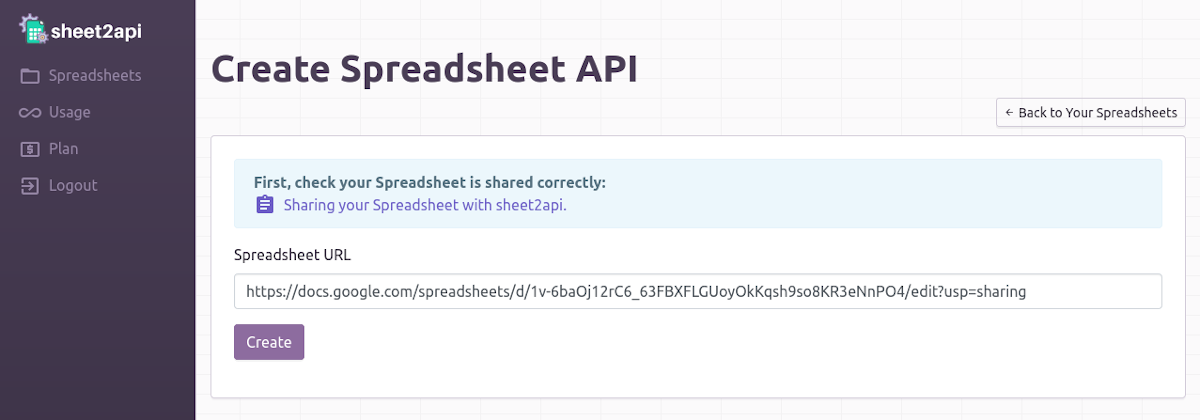
Click Create 🚀. Your new Spreadsheet API will be listed on the next page.

code 4. Populate your Website
Place the following HTML code in your website to display the information from your spreadsheet:
<div data-spreadsheet-api="https://sheet2api.com/v1/FgI6zV8qT121/characters/">
    <div>
        <span>Name: <b>{{ Name }}</b></span>
        <span>Favourite Thing: <b>{{ Favourite Thing }}</b></span>
        <span>Image: <b>{{ Image }}</b></span>
    </div>
</div>
<script src="https://sheet2api.com/v1/template.js"></script>
Remember to replace https://sheet2api.com/v1/FgI6zV8qT121/characters/ with your own API URL.
link Example Output
check_circle It's as easy as that! 🎉
Need help? Feel free to reach out via our contact page.
Start using sheet2api now
Be up & running in seconds.
Try for FREE